
How to customize net payment terms
Adjust the Pay later button's size, alignment, colors, and translated text.
1. Open Customization
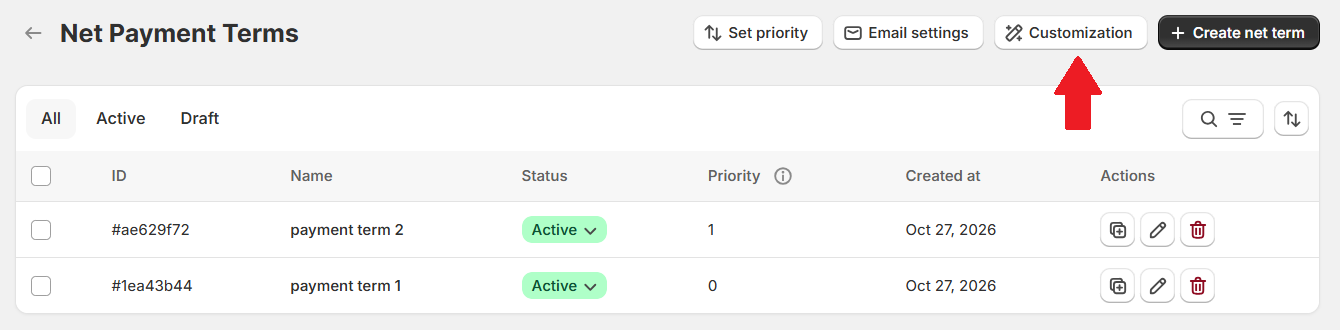
Go to Order Management Net Payment Terms, then select Customization above the rules list.
The editor has two tabs: General and Translation.
2. Style the Pay later button
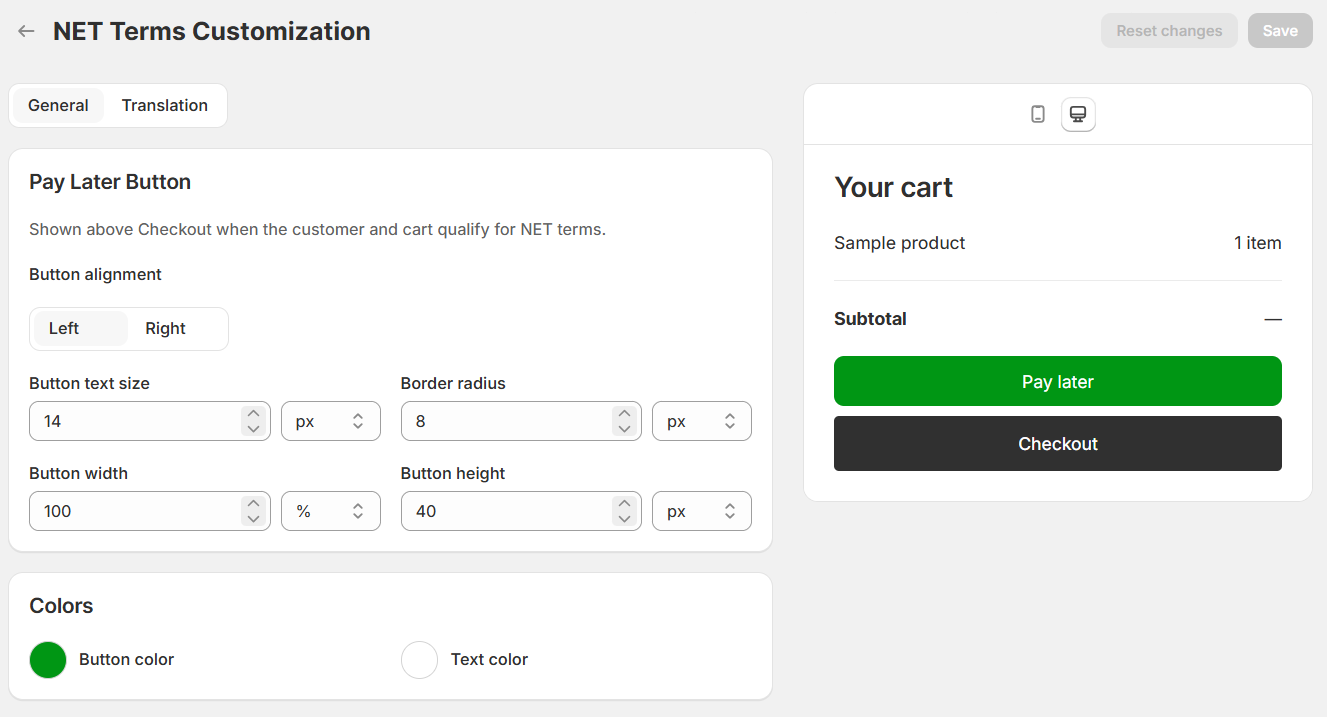
Open General. The Pay Later Button appears above Checkout when the customer and cart qualify for net payment terms.
Size and alignment
- Button alignment: choose Left or Right.
- Button text size: set the size of the button label.
- Border radius: adjust how rounded the corners look.
- Button width: set how much horizontal space the button uses.
- Button height: adjust the button’s height.
Use the unit selector beside each size field where needed. The example uses 14 px text, an 8 px border radius, 100% width, and 40 px height, with left alignment.
Colors
- Button color: choose the background color.
- Text color: choose the label color.
Keep the label easy to read against its background. The example shows white text on a green button. Use the phone and desktop controls to switch the preview.
3. Translate the button text
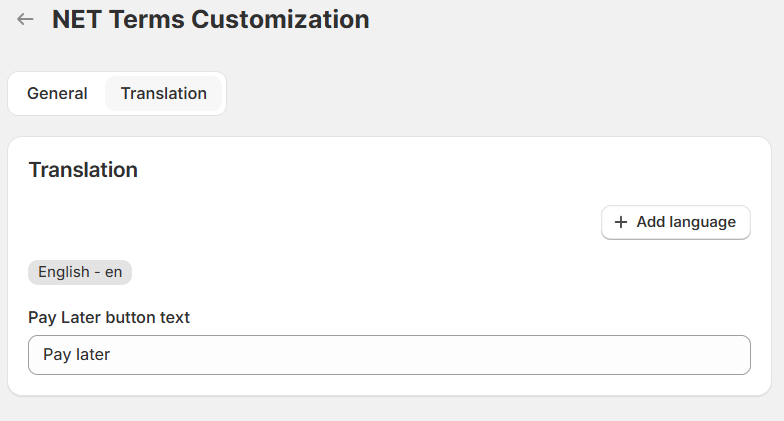
Open Translation. Select a language, or choose Add language to add another.
Edit Pay Later button text for the selected language. The English example uses Pay later. Repeat for each language you want to provide.
4. Save your changes
Click Save to apply your customization. Reset changes discards unsaved edits.
To change payment due dates or eligibility, edit the net payment terms rule itself.